English › Handwriting practice
Handwriting practice: trace it, then write it
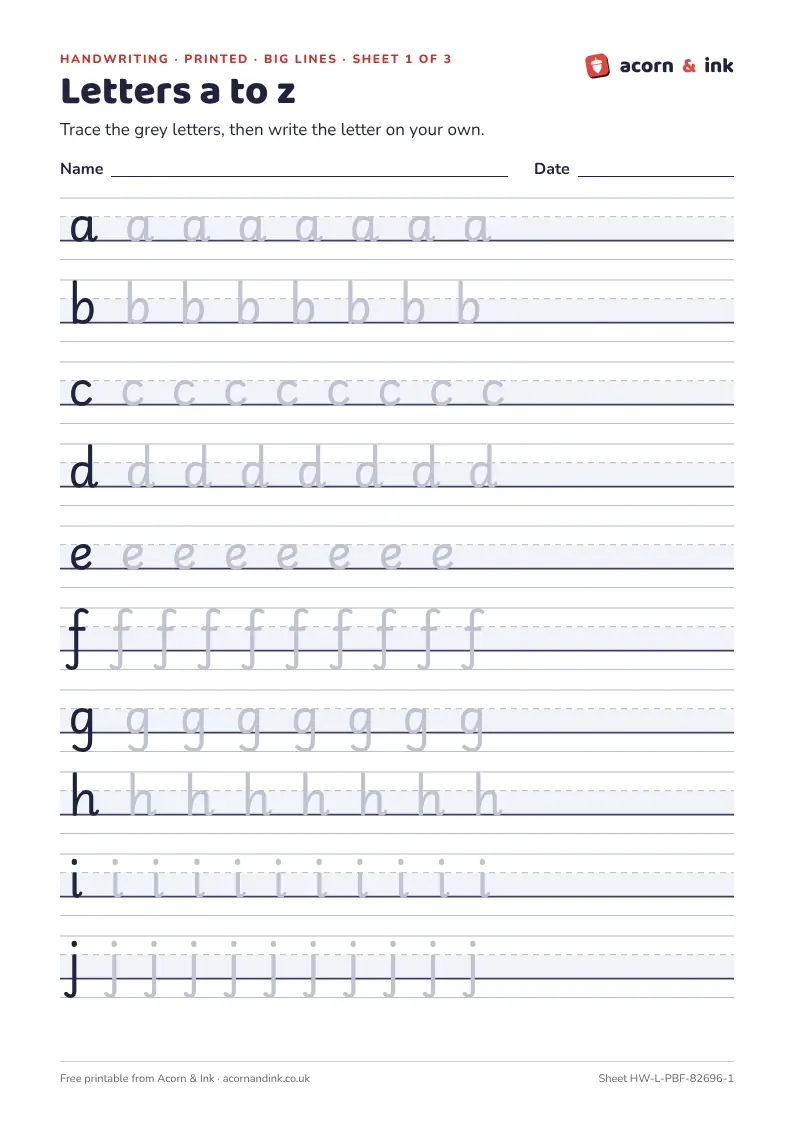
Free printable handwriting sheets on proper four-line handwriting lines. Trace and copy single letters, tricky words or your own sentences, in printed or joined-up letters, with big lines for Reception and smaller ones up to Year 4.
Getting ready to write
Good handwriting starts before the pencil touches the paper. A comfortable seat, a relaxed grip and paper at the right angle make every letter easier.
1Sit wellFeet flat on the floor, back against the chair, and the table at about tummy height. The hand that isn’t writing holds the paper still.
2The tripod gripHold the pencil between the thumb and first finger, resting on the middle finger, a little way up from the point. The grip should be firm but not tight.
3Tilt the paperTurn the paper slightly so the top leans to the left for a right-hander, or to the right for a left-hander. It lets the arm move freely along the line.
4Start in the right placeMost letters start at the top and go down. A letter that starts in the wrong place can look fine, but it’s hard to speed up and hard to join later.
The four lines
Every sheet uses the same handwriting lines. The small letters sit on the thick baseline and reach up to the dashed line. Tall letters and capitals reach the top line, and tails hang down to the bottom line.
Letter families
Lower-case letters can be grouped by the way they are made. Letters in the same family start in the same place and share their first movement, so practising them together builds the habit. Schools often give the families fun names of their own, so ask what your child calls them.
Round lettersStart near the top and curl back round to the left, like the start of a c. The e starts in the middle.
Straight-down lettersStart at the top and go straight down.
Over-the-hill lettersGo down, back up the same line, then over to make the arm.
Zigzag lettersStraight lines that slant, with sharp corners.
When does joining start?
In the National Curriculum for England, children start using some of the joining strokes in Year 2, and use them in Years 3 and 4 while making their writing neater and more even. Schools choose their own handwriting style and when to start joining, so it’s worth asking what your child’s school does. The letter shapes on these sheets may differ a little from the ones your child learns.
Make a sheet
Choose letters, words or a sentence, pick printed or joined and the size of the lines, then print.
The letters on these sheets are Playwrite GB S (printed) and Playwrite GB J (joined), by TypeTogether, from Google Fonts. They are used under the SIL Open Font License 1.1. The joined letters are joined by the font itself, in your browser.
Tips for parents
- Little and often. Five or ten minutes a day does more than one long session a week. Stop while it’s still going well.
- Big movements first. Before pencil and paper, draw letters in the air with a straight arm, in a tray of sand or salt, with a wet paintbrush on a fence or with chalk on the ground. Big movements teach the direction of each stroke.
- Left-handers need a slightly different set-up. Tilt the paper the other way, with the top leaning to the right, and hold the pencil a bit further up so they can see what they’ve written. Sit a left-hander on the left of a right-hander so elbows don’t bump.
- Praise good letters, not speed. Notice a letter that started in the right place or sat neatly on the line. Speed comes later, once the movements are automatic.
- Watch, don’t just mark. A finished letter can look right even when it was made the wrong way round. Sit beside your child for the first row and check where each letter starts.
What the National Curriculum says
- Reception (early learning goals): hold a pencil well enough to get ready for fluent writing, using the tripod grip in almost every case, and write letters that can be recognised, most of them formed correctly.
- Year 1: sit correctly at a table and hold a pencil comfortably and correctly. Begin to form lower-case letters in the right direction, starting and finishing in the right place. Form capital letters and the digits 0 to 9. Know which letters belong to which handwriting family (letters made in similar ways) and practise them.
- Year 2: make lower-case letters the right size compared with each other. Start using some of the diagonal and horizontal strokes needed to join letters, and know which letters are best left unjoined when they sit next to each other. Write capitals and digits the right size, the right way round and in the right relationship to each other and to lower-case letters, and leave spaces between words that suit the size of the letters.
- Years 3 and 4: use the diagonal and horizontal strokes needed to join letters, and know which letters are best left unjoined when next to each other. Make handwriting easier to read, more even and better quality.
Schools choose their own handwriting style, so the letter shapes on these sheets may differ a little from the ones your child learns. Sources: National Curriculum in England: English programmes of study and Early years foundation stage statutory framework (Department for Education), summarised in our own words. Crown copyright, Open Government Licence v3.0.
Questions parents ask
- What age should my child start handwriting practice?
- Most children start forming letters in Reception, at age 4 to 5. By the end of Reception the early learning goals expect a tripod pencil grip and letters that can be recognised, most of them formed correctly. Start with the big lines and a few letters at a time, and keep plenty of drawing, colouring and play with big movements alongside.
- Should we practise printed or joined letters?
- Follow your child’s school if they go to one, as schools choose their own style and when to start joining. In the National Curriculum, joining strokes begin in Year 2 and are used in Years 3 and 4. If you are home educating, printed letters first and joined letters from about Year 2 follows the same order.
- Which line size should I choose?
- Big lines suit Reception, with small letters about 6 mm tall. Medium lines suit Years 1 and 2, and small lines suit Years 3 and 4. If letters are spilling over the lines or look cramped, go up a size; if they are neat and even, try the next size down.
- My child is left-handed. What should we change?
- Tilt the paper the other way, with the top leaning to the right, and encourage a grip a little further up the pencil so the hand doesn’t cover the writing. Place the sheet slightly to the left of the middle of their body. The sheets work the same way for both hands.
- Why are there no arrows or starting dots?
- Starting points and stroke directions vary a little between handwriting styles, and an arrow in the wrong place would teach the wrong movement. Rather than guess, we leave them off. Show your child where each letter starts on the first row, or add a dot with a green pencil yourself.